
starter
HOW TO ACTIVATE YOUR DRIED SOURDOUGH STARTER
Your climate will impact the time it takes for your starter to activate. Rather than watch the clock - keep an eye on your starter. Look for bubbles, growth and signs of life.
Step 1. Place 1 Tbs. of dried starter into a 16oz (or larger) jar or clear container.
Step 2. Mix with 2 Tbs. flour (AP is fine) and 2 Tbs. room temperature water.


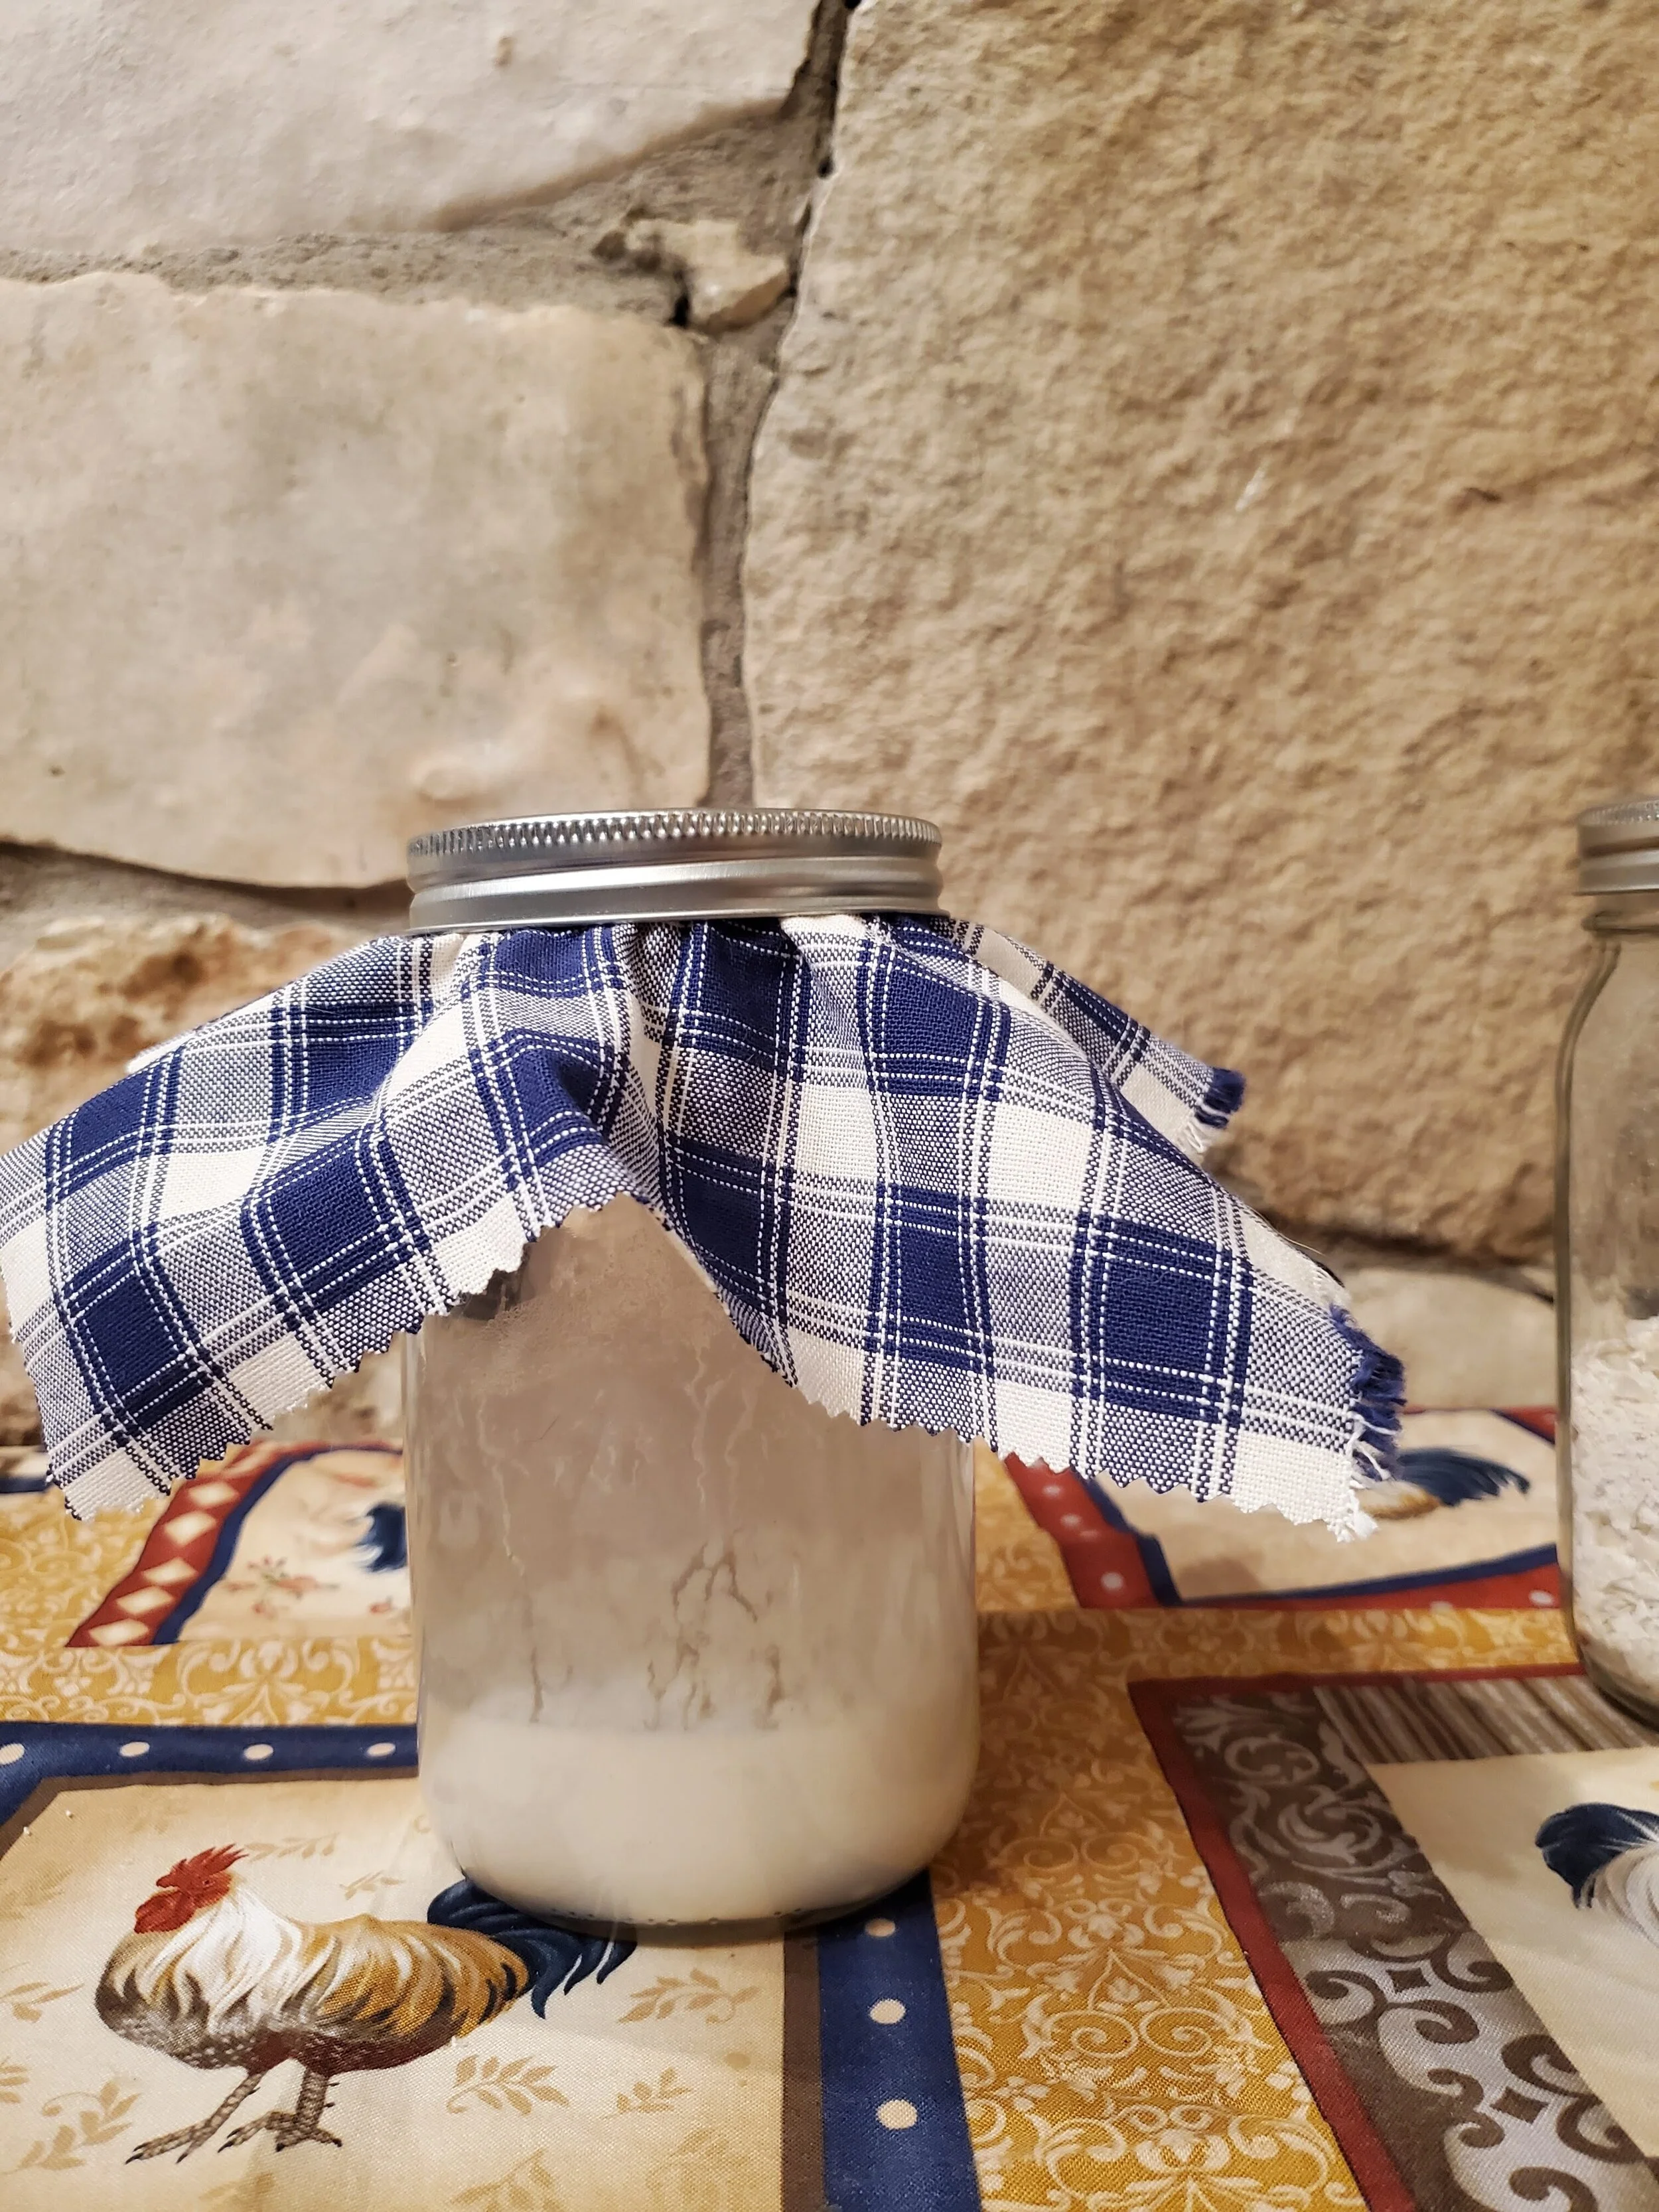
Step 3. Loosely cover and set aside for 4-8 Hours, until you see bubbles and it has risen slightly.
To cover, you can use a tea-towel and a rubber band. You want it to breathe, but you need to cover it. Flies love this stuff! I gave my starter 6 hours on this step. It didn’t rise a lot. There we definitely more bubbles than when I started. I recommend snapping a photo if you can, so you have a basis for comparison.

Step 4. Stir in 1/4 C Flour and 1/4 C Room Temperature water.
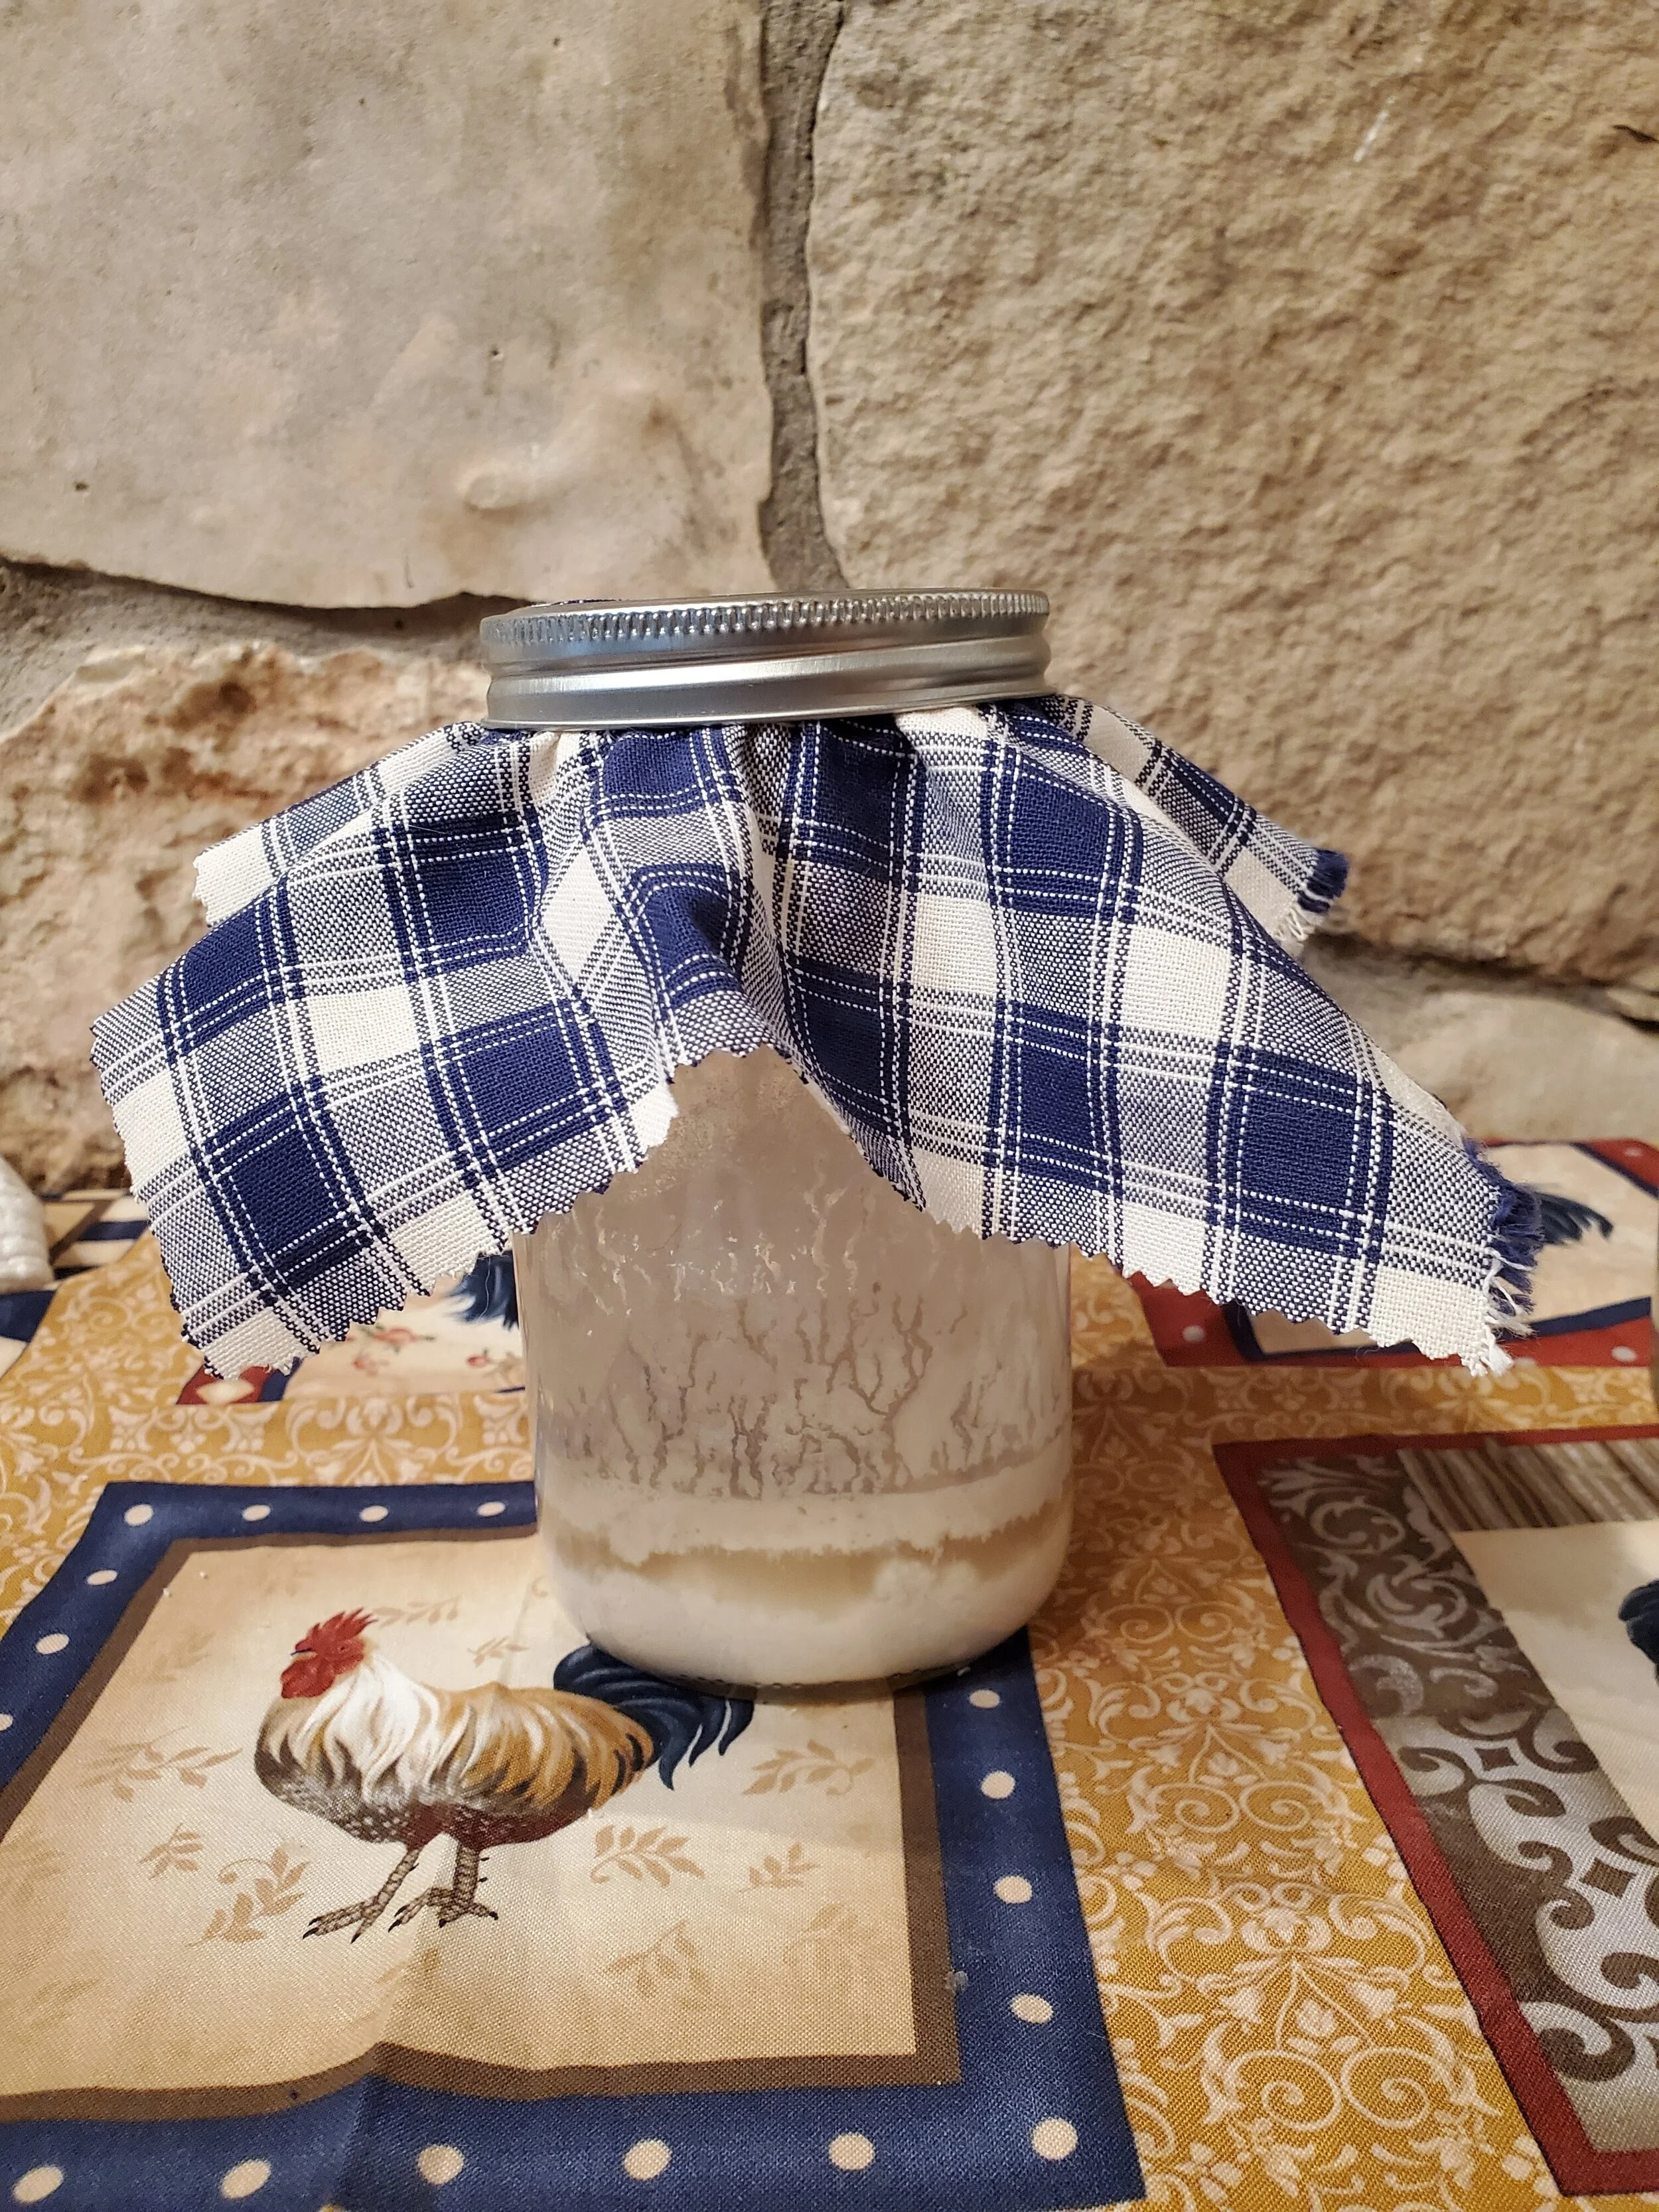
Step 5. Loosely cover and set aside for 4-8 hours, or until you see more bubbles and the starter has doubled in size.
I didn’t see any change in mine after four hours, so I went to bed and left it overnight. 8 hours definitely did the trick. You can see in my photos, that the liquid separated. It still didn’t rise much. Lots of bubbles and a slightly tangy smell. This is all normal and good.

Step 6. Stir in 3/4 C Flour and 1/2 C room temperature water


Step 7. Loosely cover and set aside overnight.


By now, your starter should be bubbly and alive. It may also be deflated - this means its ready to be fed again!
Mine was poofy and smelled like beer. If yours isn’t here at this point - don’t fret. Discard half and repeat steps 6& 7 up to 2 more times.
Your starter is ready to use when a teaspoon-full dropped in water floats.
STORING YOUR STARTER
Store your starter tightly covered in the fridge - feed it weekly (or when it gets watery) with 3/4C flour and 1/2 C water.
I keep mine in a lidded plastic container in the fridge and feed it about every other week. Mason jars are cute - but I worry Ill drop it and break the glass. It also seems like plastic comes back to temperature quicker than glass. I prefer the wider mouth of the plastic container for stirring in the flour and water at feeding time.
When you want to use it - feed it, bring to room temperature and then use.
If you store it on the counter, it’ll need to be fed daily. Discard (or use) half and feed it 3/4C flour and 1/2 C water.
USING YOUR STARTER
Congratulations on raising your starter! Now what? Here’s an easy recipe for a rustic round loaf to get you started on your sourdough journey.
Ingredients:
1C Starter (room temperature)
6C Flour (AP is fine. Bread flour works too)
2C warm water (I use hot tap water. 100 to 115 degrees. Any hotter and you’ll kill the yeast. Cold will work but it’ll take longer)
1T Salt (yes Tablespoon…I use coarse kosher salt. If you use something else - adjust to your preference)
Mix the starter and the water in a large bowl until completely dissolved.
Stir the salt into your flour, then add it all to your water/starter mixture. Stir until saturated. Lumps are ok. You can use your hands for this part if you want.

Cover tightly (I use the lid for my plastic bowl) and leave to rise overnight.

Pour it out onto a lightly floured surface and scoop the sides onto the middle to form into a round. (Do your best to avoid deflating the dough. Don’t knead it or squash it)
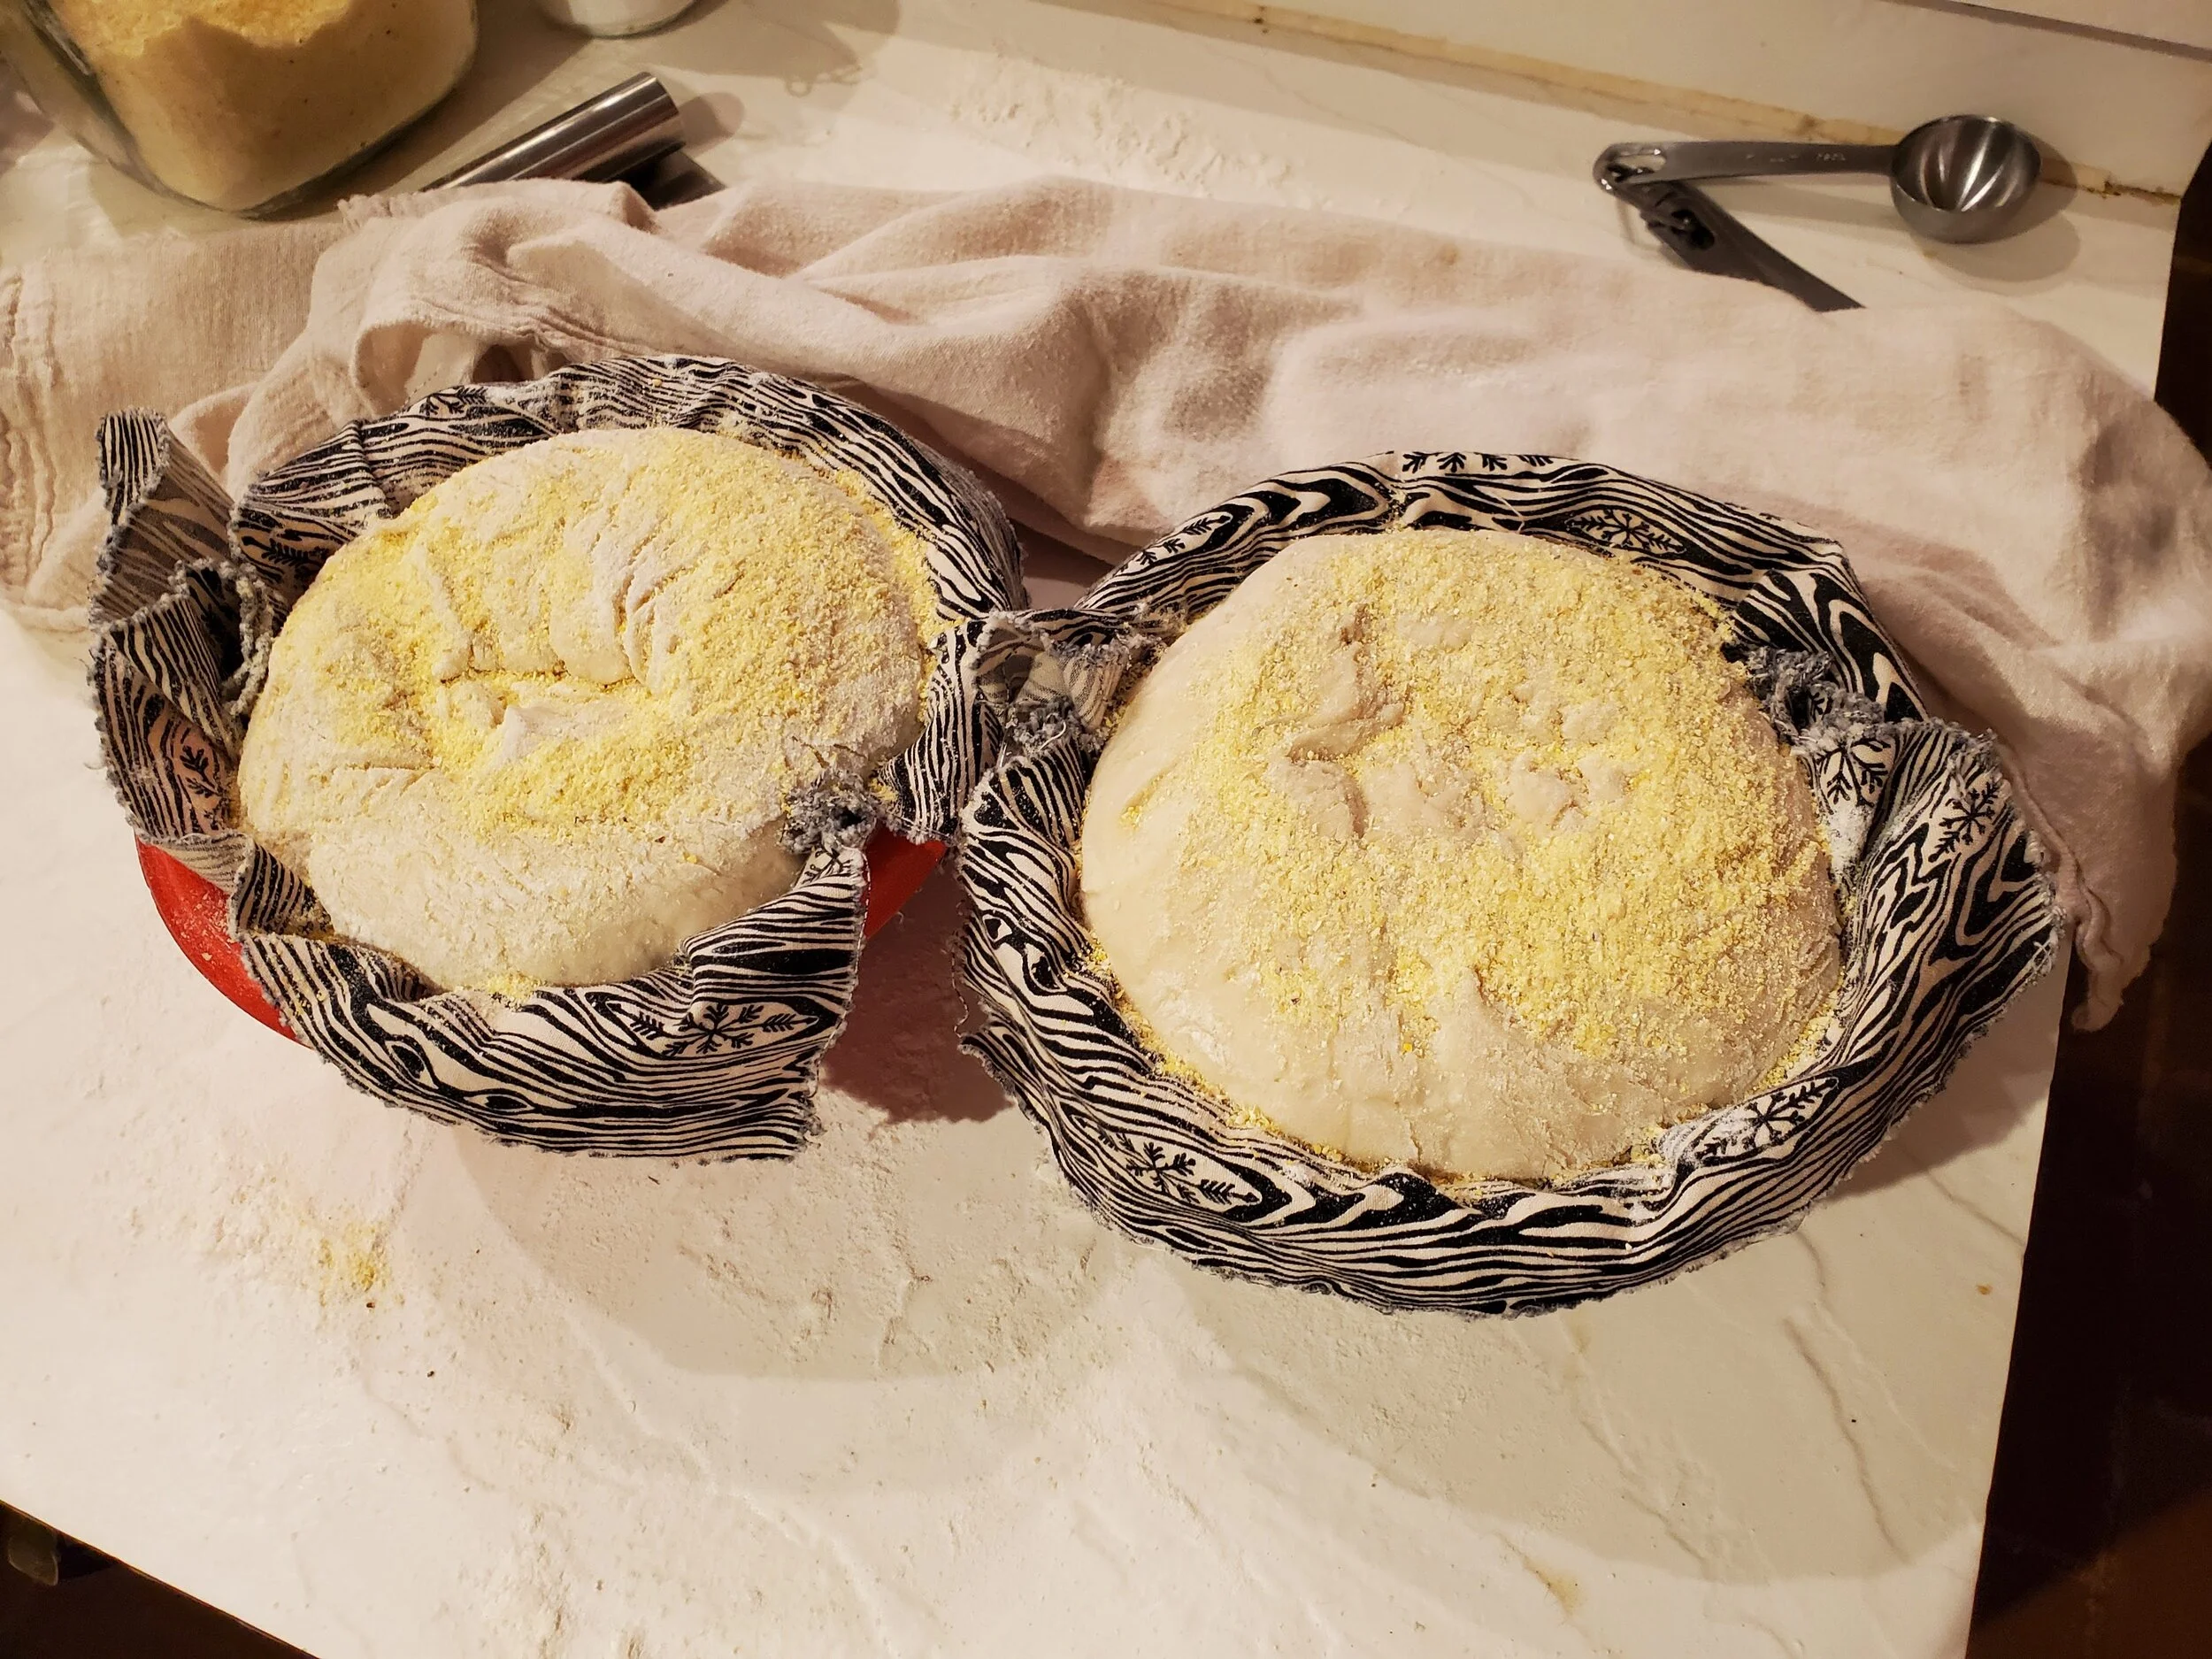
(I cut mine in half after pouring out to make two smaller loaves)

Flip it seam side down, cover with a tea towel and let it rest 15 minutes.

Using a bench scraper (or a flat knife) scoop the sides under your round to tighten up the round(s).

Line a bowl with a cloth. Flour liberally.

Gently lift your dough and place into your bowl. Seam side up. (A bench scraper helps a LOT)

Cover and let rise for an hour (or until nearly doubled)

Sprinkle the seam side liberally with cornmeal.
Sprinkle more cornmeal into a heavy, lidded, oven-going pot.
Preheat your oven to 450 degrees.
Place a sheet of parchment over your dough in the bowl. Carefully invert the bowl to turn out your dough. (Remove the cloth)
Use the parchment to lift and and place your loaf gently into your prepared pot.
Score the top of your loaf however you like. (Not too deep…maybe 1/4 inch)

Cover and bake 20 minutes.
Uncover and bake 30 more minutes.
Remove from the pot, and bake directly on the oven rack for 10 more minutes to crisp the crust.
Remove from the oven and let cool completely (yes completely! Don’t cheat.. you’ll make it soggy) before slicing.

Enjoy!